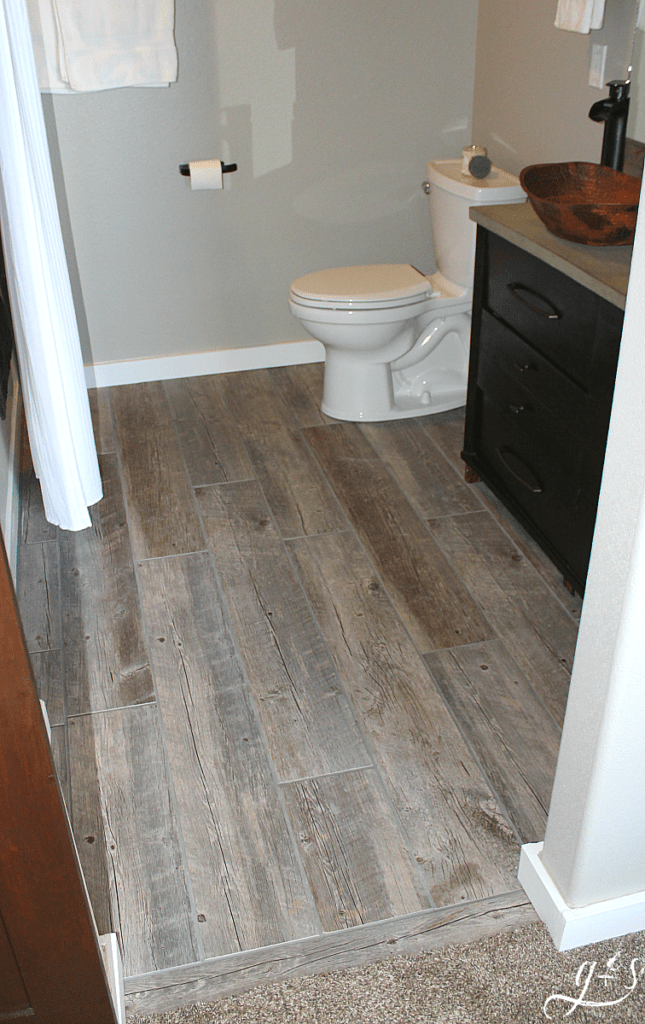
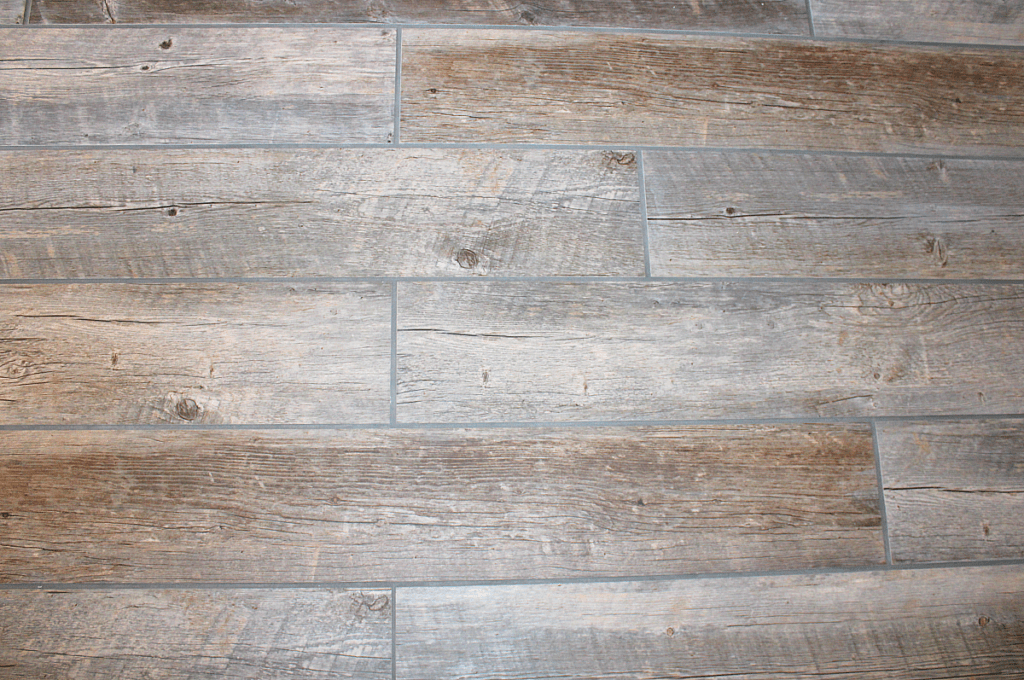
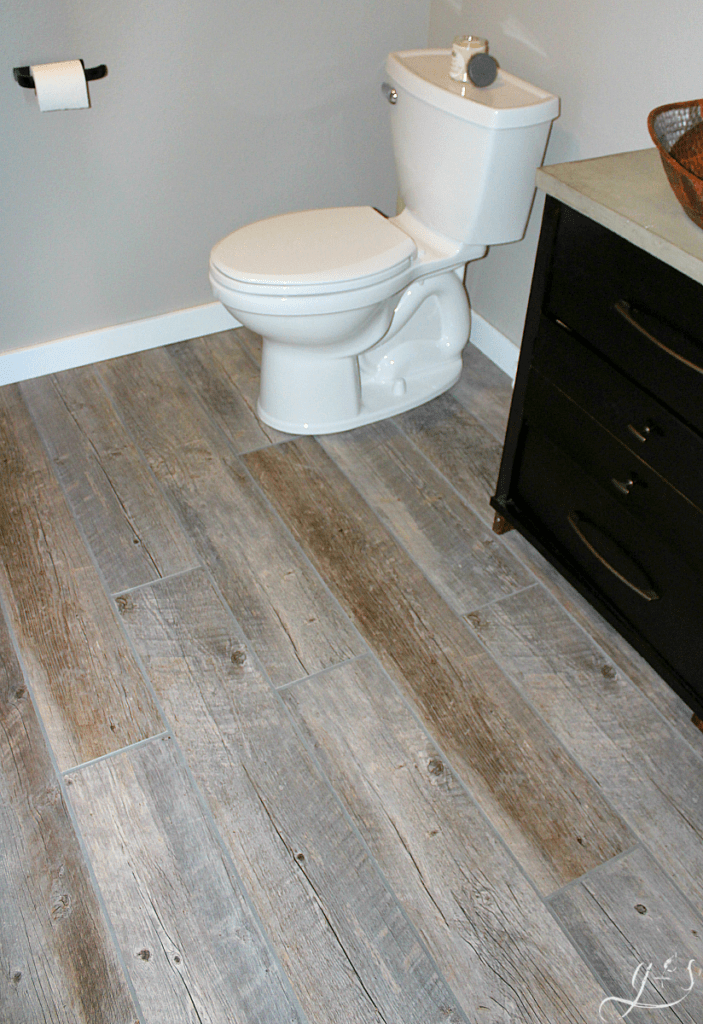
The tile floor in our master bath is just so gorgeous!
Is it wood planks? Is it porcelain tile? It’s both in my mind! Ha!
Plus, the contrast between the greyish-brown planks, white trim, dark vanity, and copper vessel sink is just stunning!
We are so excited to show you how to do this plank tile bathroom flooring!
We purchased this tile and grout from Lowes. After we finished the bathroom, Ryan said, “Man, I wonder if we should have installed these planks vertically in the shower surround?” Ummm, you’re a day late and dollar short, sweetheart. Yes, that would have been cool… Darn it!
Oh well, the floor looks fantastic and we can try that idea in the next house. 😉
Without further adieu, I am going to turn it over to the hubs. He’s going to walk you through the steps of completing this simple plank tile bathroom flooring DIY project!
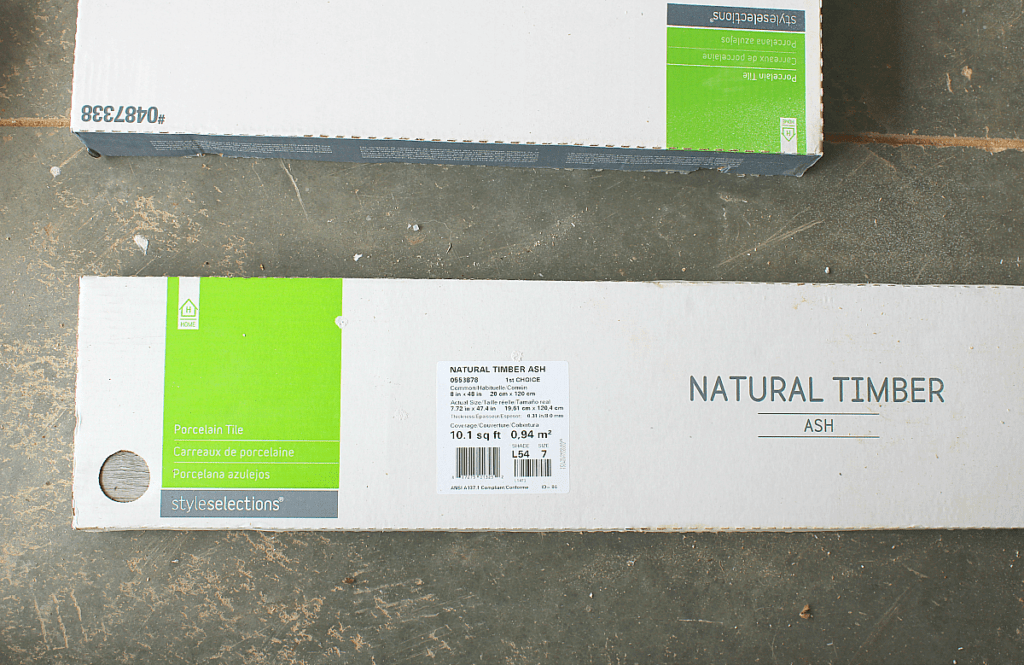
Here is the box of tile we used. It’s Natural Timber Ash porcelain tile from Lowes 8″ x 48″.
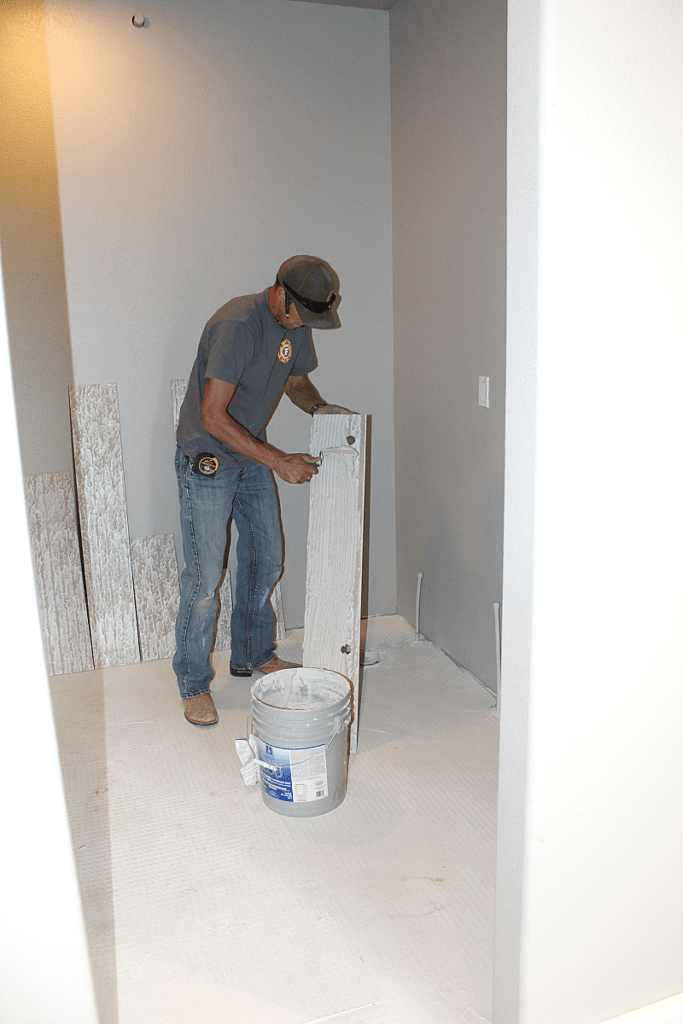
As you can see, I have several tiles ready to be installed. Sam and I chose which tiles we wanted where because they are all different (coloring and pattern) and some tiles we preferred over others.
Plus, it’s always a good idea to take tile (flooring, backsplash, etc) from several different boxes as you install. There can be noticeable differences in color and pattern between boxes.
Along with that, I wanted to check my layout and see how it would look with laying them in a pattern of full pieces, 2/3s, and 1/3 tiles.
The dry fitting step is important with these plank bathroom tiles.
Pinterest along with suggestions on the box of tile helped us decide which pattern we liked best.
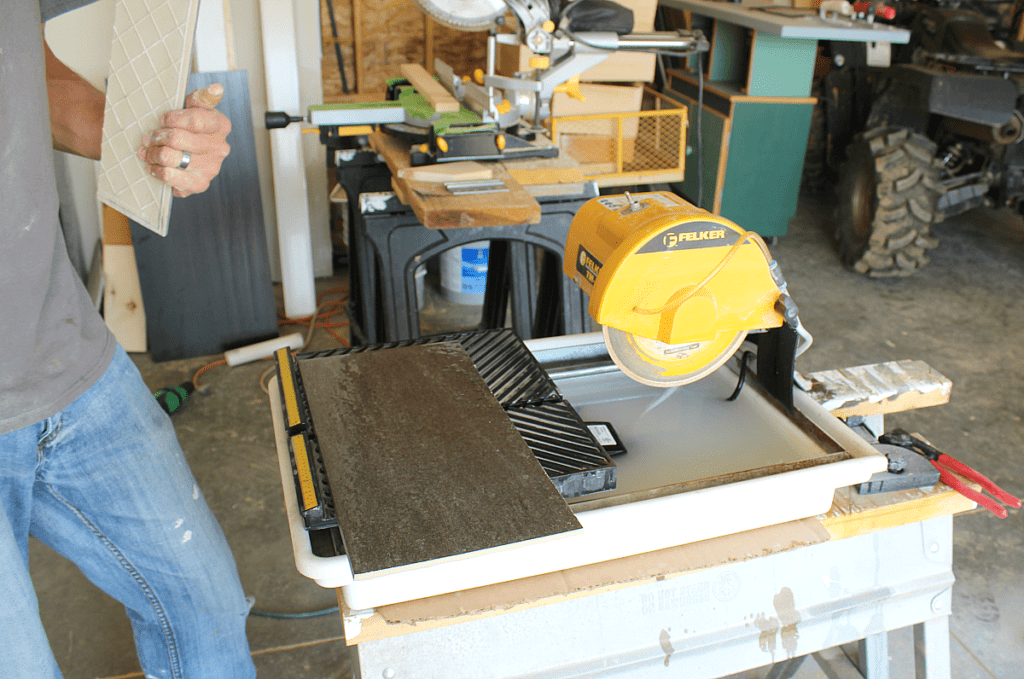
Be sure to use a tile saw that fits the tile your cutting. This saw was almost too small, but we made it work. Be patient with tile cutting, don’t force it, if it’s cutting slow just let it do it’s thing or change the blade. You’ll be sorry if you rush it and chip the edges.
That’s always fun. Not!
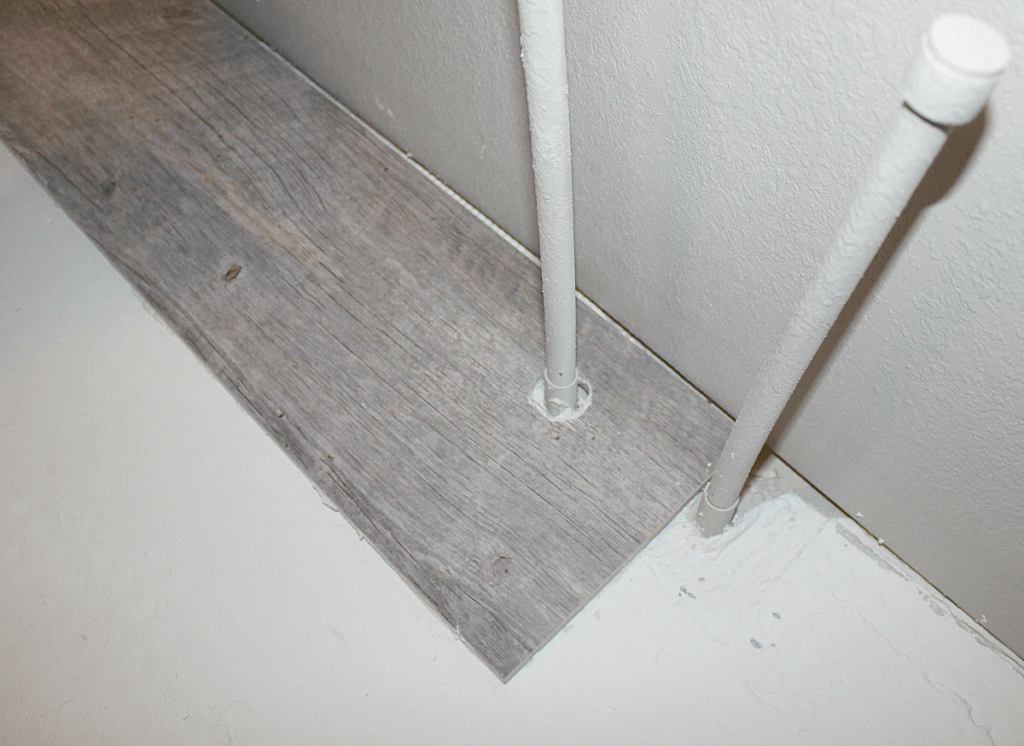
Several water lines coming through the floor had to be navigated. Our tile hole saw worked well for this part of the project.
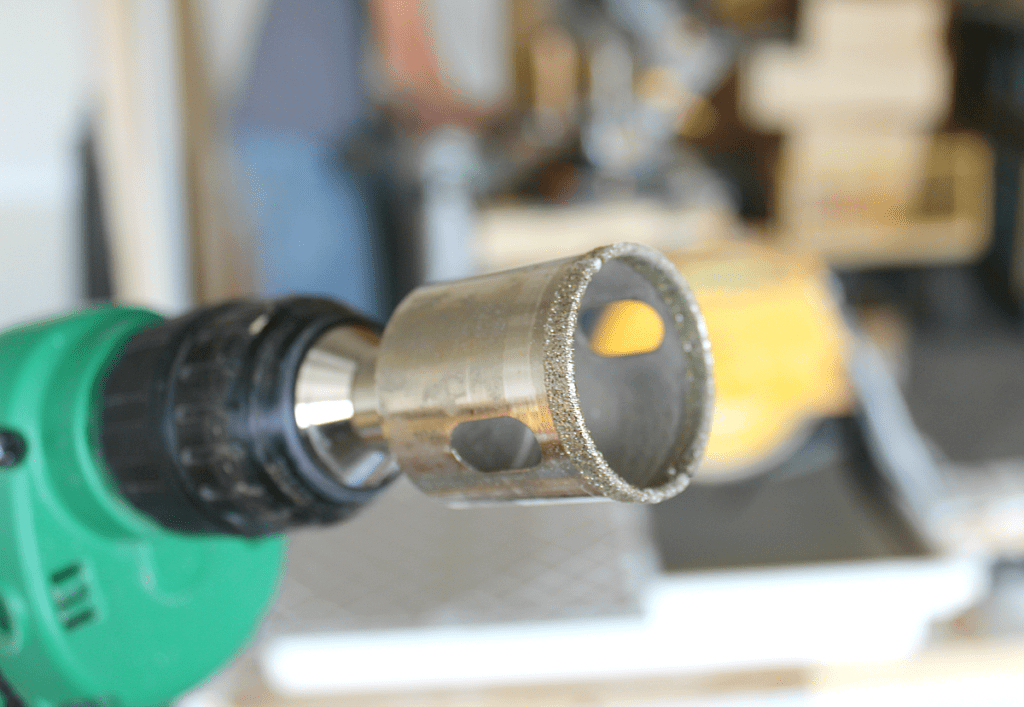
We purchased this diamond hole tile bit to make a hole in the tiles for valves and spouts. 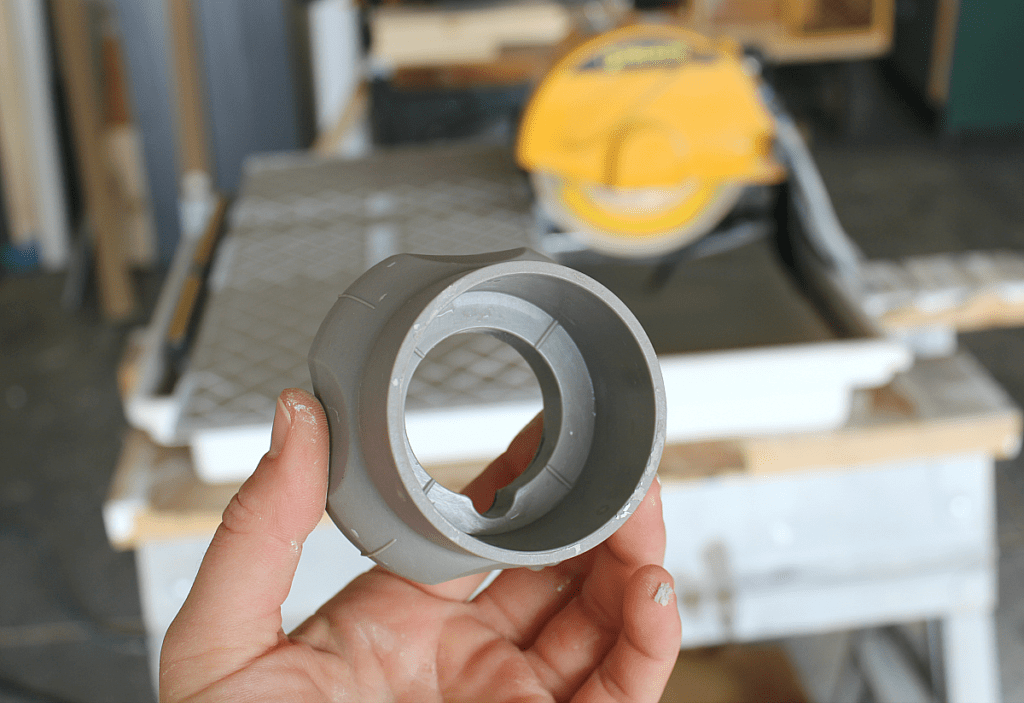
This was a handy little kit that sticks on the tile and guides the bit down in one spot.
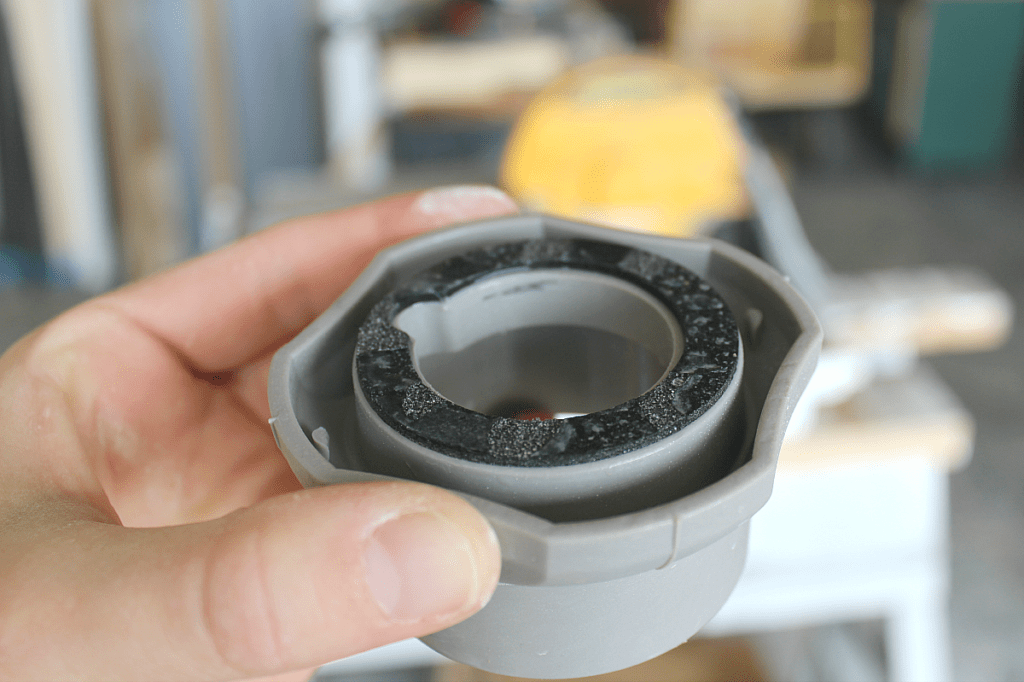
Pictured here watering cup with adhesive bottom, easy on and easy off. 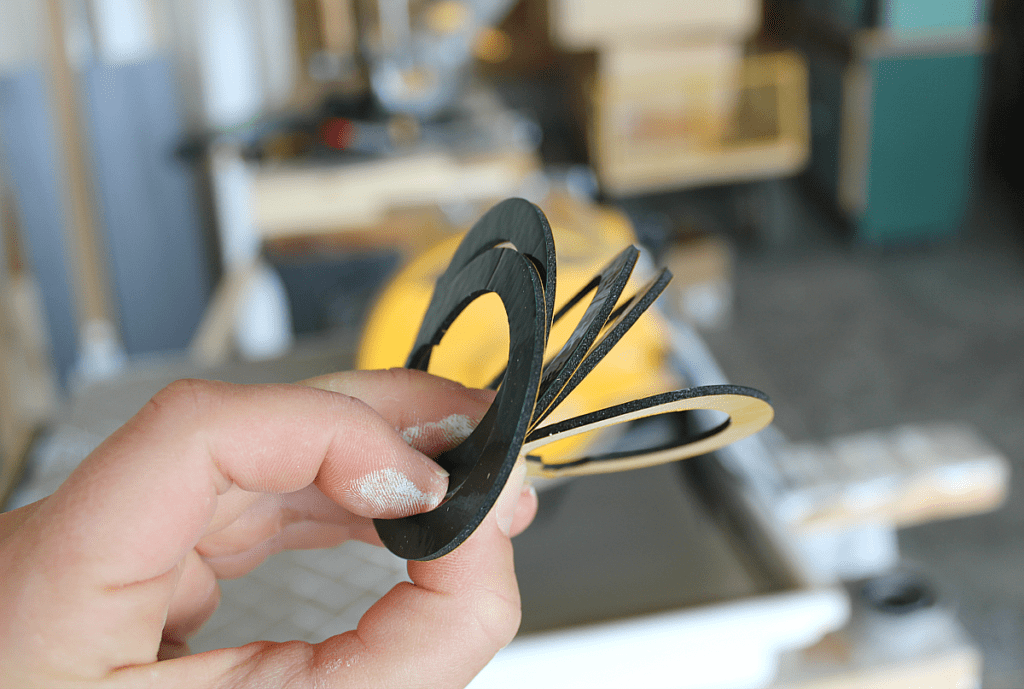
The kit came with extra double sided sticky thingy’s or better named, mounting gaskets. 
Make sure your tile is nice and dry before attempting to stick the cup on. Fill the cup with water and your makin’ a hole!
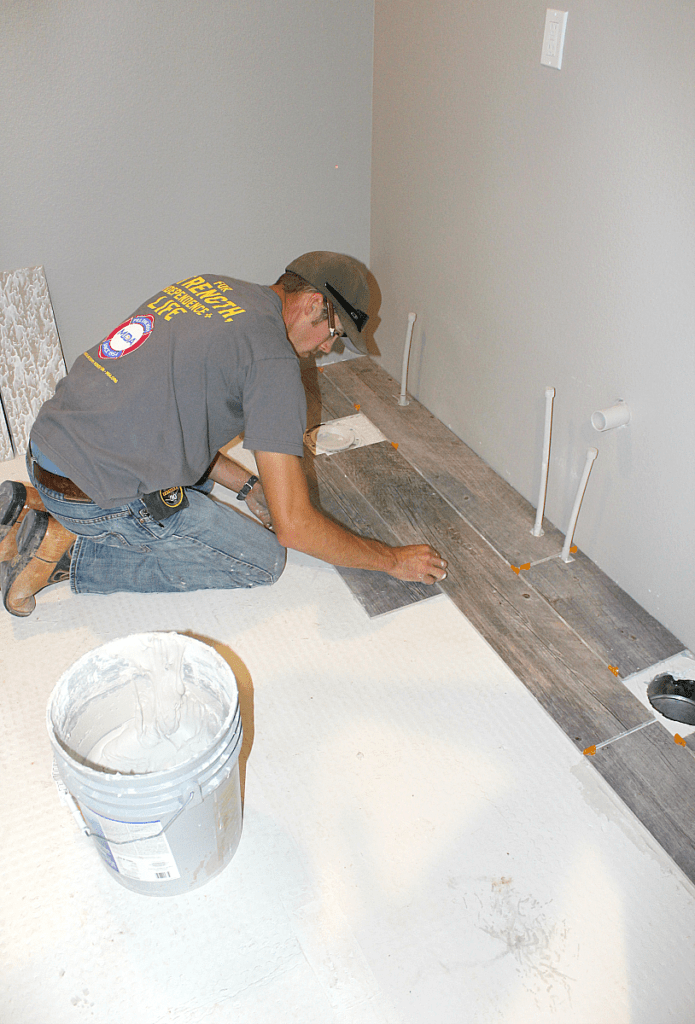
We used a 1/4 ” notched trowel to adhere the mortar to each tile and spaced it appropriately with 1/4 spacers.
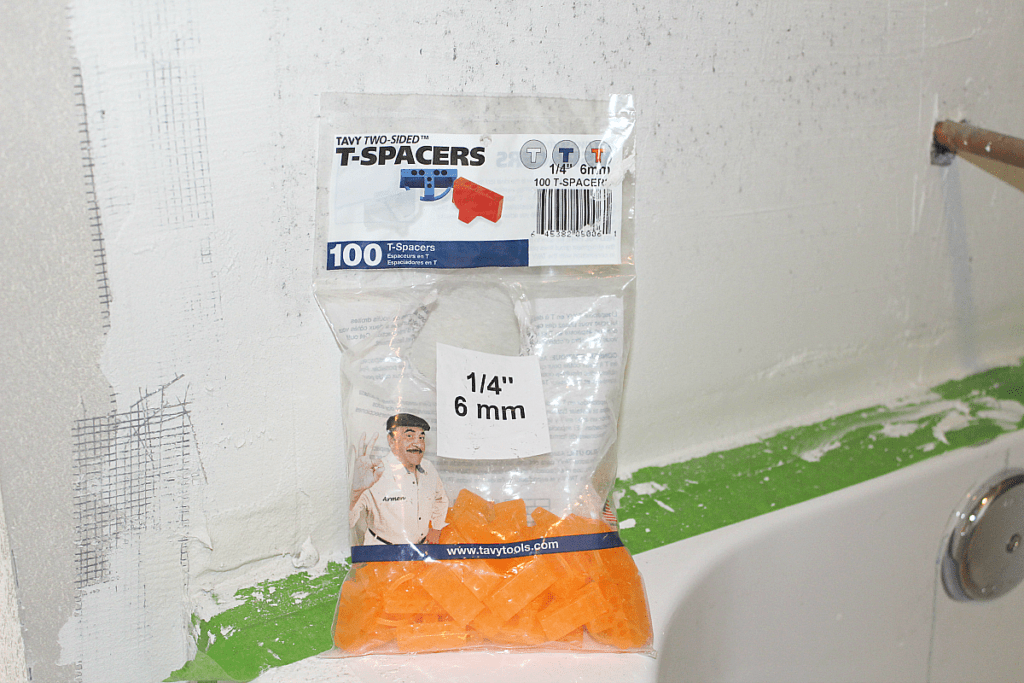
Above are the 1/4 inch spacers we used.
Though you can use any size, we used this size to compliment the larger tiles.
The laying of the tile is finally done and I’m one happy camper.
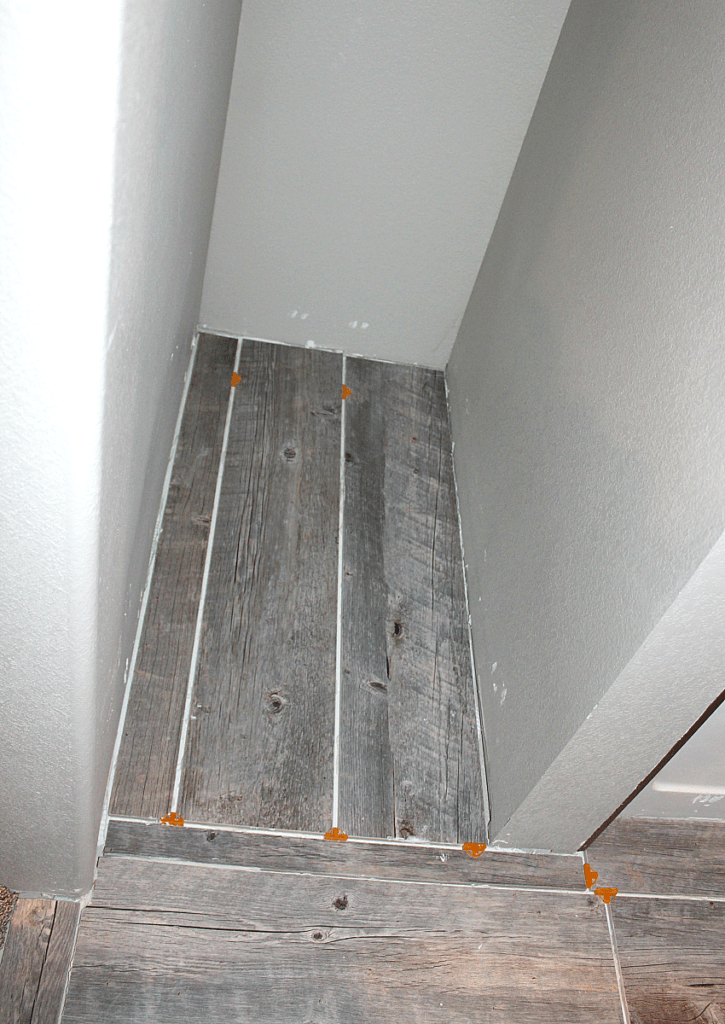
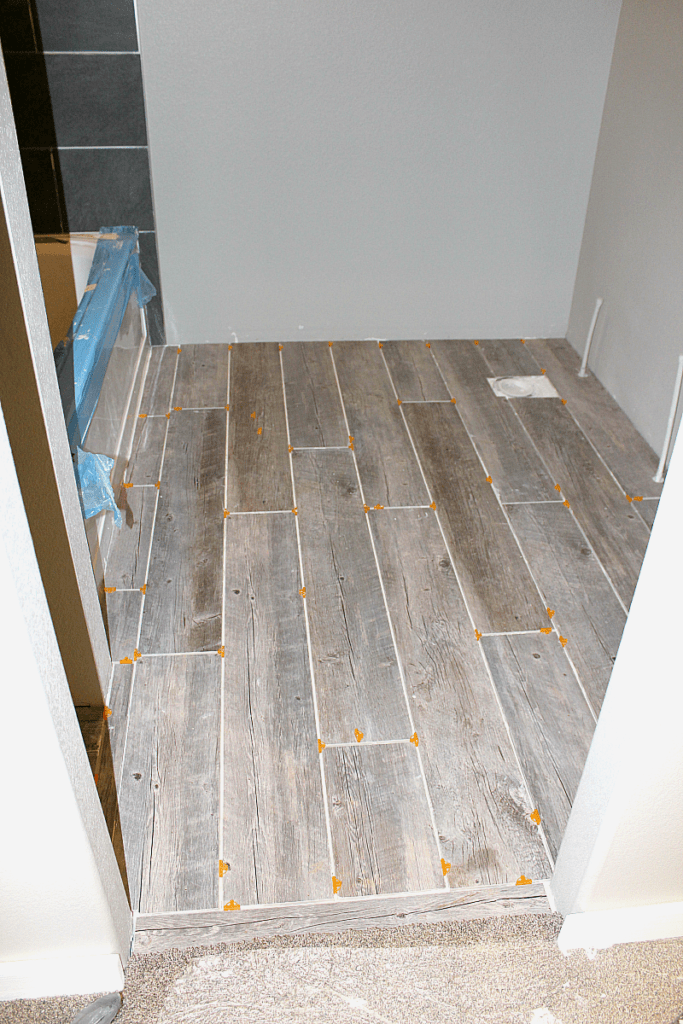
I decided to make a transition here in the open linen closet and run perpendicular to the main portion of the bathroom. I did this for ease, we only had to use three planks versus 4 or 5 cut tiles.
The ripped (cut the long way) planks you see running beside the tub, here at the closet, and doorway were a little difficult but worth the effort.
Obviously, making an 8″ cut on the short side is simpler than making a perfectly straight line when cutting 16-24″ runs. I knew that there was a little room for error because of floor trim and the caulking where the tubs meets the floor.
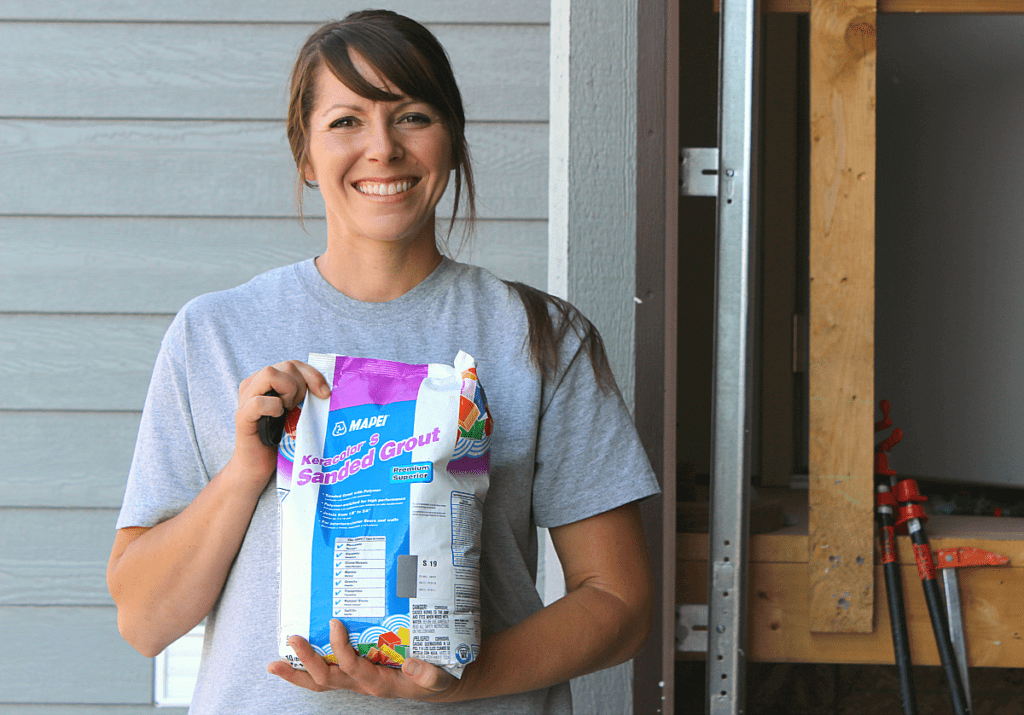
We chose a sanded grout from Lowes in Pearl Gray. You will also need to use the same color caulking (Pearl Gray) to do the area between a tile and the tub as you don’t want your grout to crack over time.
This ready-to-go tube of grout caulking allows for expansion and looks just like the mix-your-own bag of grout pictured above.
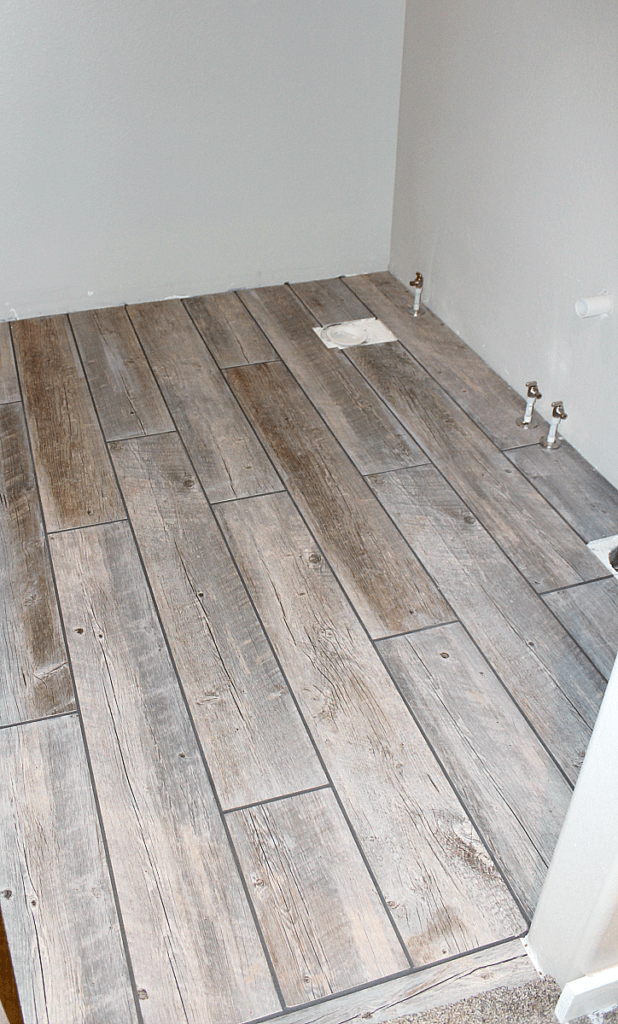
This is the floor pictured after grout was applied and drying.
Once the grout had dried for 24 hours, Sam sealed it with this sealer from Lowes. She actually went over it twice just for piece of mind.
Well, there it is. Done. Praise the Lord because I had a lot more house to finish after this bathroom tile. Ha!

That is seriously impressive. Absolutely beautiful! It’s actually a great and helpful piece of information. I like that you explained everything in detail.
Thank you so much, Dima! We are really happy with how it turned out and 4 years later are still incredibly pleased with how it looks it’s durability with 3 kids. 🙂
Thanks so much for sharing this! You are a life-saver. Looking forward to more.
Thanks Roger! Blessings!