Who is starting seeds this year in hopes of a bountiful harvest? Me too!
You will love these 10 Seed Starting Garden Hacks to save you time and money!
By: Sarah Koontz
As you may know, I am a bit of a “Type-A Control Freak”. I work very hard to have my garden be as organic as possible and have often been disappointed with the quality of plants I bring home from the local greenhouse.
Last year was my first time starting seeds, and I learned some super simple time & money saving tricks I would like to share with you today. If you have the extra space, I highly recommend you try your hand at starting your own seeds this spring.
I love the variety of organic and heirloom vegetables that are available through seed catalogs. A few of my favorites are Johnny’s Seeds, Seed Savers Exchange, and Pleasant Valley.
I learned so much about starting seeds by following this guy on YouTube. His videos are so educational, and his process is super simple to duplicate.
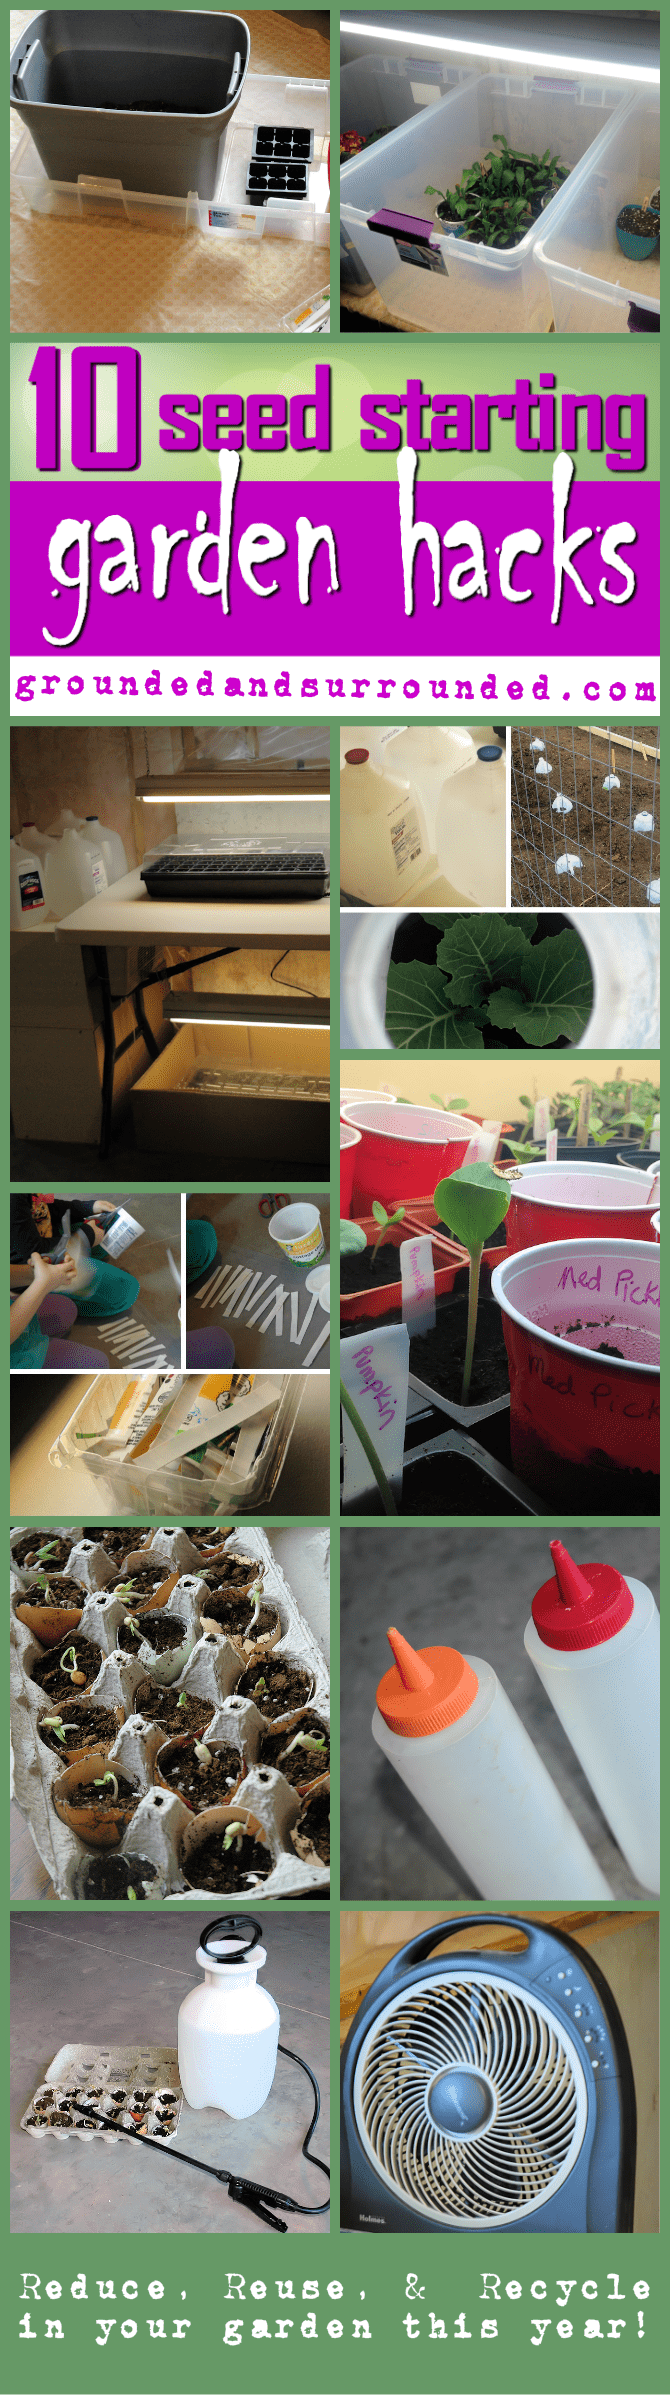
Here are my Top 10 Frugal Garden Hacks for Seed Starting:
- Old Plastic Tablecloth: I am not a fan of dirt in my house. But when you are potting your seeds, dirt is sort of an important ingredient. I lay down an old tablecloth on the floor and do all my potting, then roll it up and shake it off outside (shake it off..shake it off!)
- Rubbermaid Containers: I use these for so many things; the clear ones are the best! I keep my soil in one for easy mixing (yes, you want your soil to be damp before you pot it). I use the lids as trays for my seedlings. I use the clear ones for hardening off my plants in the garage or outdoors (adding the lids at night for a little extra protection).
- Shop Lights: There is no need for expensive grow lights. Just head to your hardware store and pick up some shop lights. Buy one warm and one cool bulb to put in them so your plants are getting the full spectrum of light (they will reward you for this).

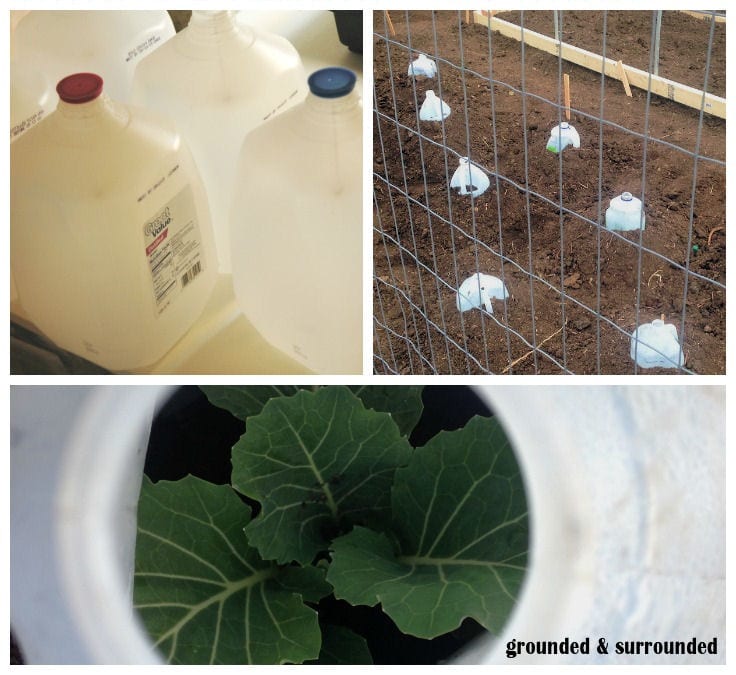
- Milk Jugs: There are so many uses for milk jugs in the garden. My favorite use is to cut the bottom out and use them to protect fragile seedlings right after they are transplanted into the garden. I save milk jugs all year long and save money in my garden. Some people also use them as mini greenhouses.
- Solo Cups: If you are short on containers for your transplants, pick up some solo cups. I love to use these for deep rooted veggies like tomatoes. They also work for sensitive plants who don’t like their roots messed with. I poke some holes in the bottom, then cut them in half. I tape them back together, then transplant my seedlings into them. When it is time to put them in the garden, I simply cut the tape and the plants pop out easily.
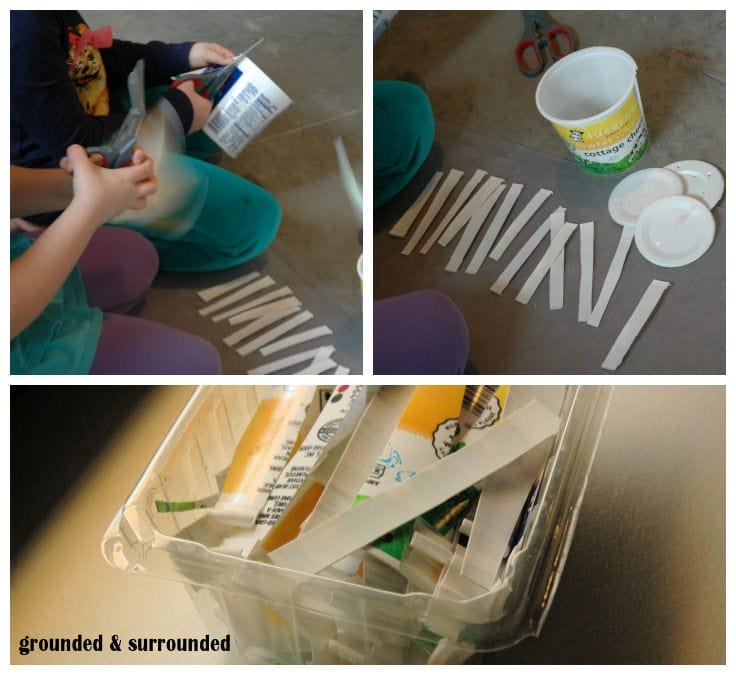
- Yogurt Containers: This is one of my favorite hacks! I tried Popsicle sticks at first, but they didn’t hold up very well. Cutting old plastic containers into strips and marking with permanent marker is an ideal solution for frugal seed starting success.
- Egg Shell Planters: Take egg shells (broken neatly in half) and wash them out thoroughly. Then poke a few holes in the bottom for drainage and put them in an empty egg carton. Then fill them with potting mix and plant your seeds. Be sure to crush up the shells a bit before you transplant the whole thing into a larger container (or the garden!).
- Dollar Store Condiment Bottles: I love to use seaweed fertilizer on my seedlings. This stuff is stinky and needs to be mixed with water. The dollar store condiment bottles work perfectly for this!
- Basic Fan: It is important to keep air moving around your seedlings. It also encourages them to build up their root system. I found one on craigslist for 5 dollars, best purchase ever!
- Simple Sprayer: There is no better way to water your baby seedlings than with a sprayer (typically used to spray chemicals on your lawn/weeds….something we DO NOT DO AROUND HERE because chemical exposure can cause a fibromyalgia flare up). It is a gentle mister and won’t damage those fragile little cuties.
I hope this list has encouraged you to take a step outside the box. There is really no right way to do things when it comes to gardening, only the way that works for you.
I figured out most of these tips and garden hacks out of necessity. I ran out of pots, so I re-purposed plastic cups. I ran out of Popsicle sticks, so I decided to cut up a yogurt cup. I got sick of the dirt all over the floor, so I laid down an old tablecloth I had sitting around. Be creative and get your garden on….IT’S TIME TO GROW!
Click on the thumbnails below to pin your favorite hack to your Pinterest Gardening Boards!

. I use the lids as trays for my seedlings. I use the clear ones for hardening off my plants in the garage or outdoors (adding the lids at night for a little extra protection). You won't want to miss the rest of our 10 Seed Starting Garden Hacks! These DIY tips and ideas will help you be the best gardener around!")
. You won't want to miss the rest of our 10 Seed Starting Garden Hacks! These DIY tips and ideas will help you be the best gardener around!")


. It is a gentle mister, and won’t damage those fragile little cuties. You won't want to miss the rest of our 10 Seed Starting Garden Hacks! These DIY tips and ideas will help you be the best gardener around!")
How do you reduce, reuse, or recycle with garden hacks?

Awesome tips! I like the idea of re-purposing yogurt containers and also egg shells. Thank you for sharing.
I’m so glad this post was helpful! Yes, I reuse my yogurt containers every year. Happy planting!
Really do appreciate the work that you’ve put into this. While I know you’re talking about recycling, I would really encourage you to look into urban wood utilization. To make it simple – it’s basically just recycling what natural products we already have on the property and how we can actually use them for functional purposes rather than just removing them altogether. Plus it’s great for the environment.
I think your article is great, thank you for sharing
You’re welcome! I appreciate your kind comment. Blessings this growing season!
Great list of tips! You made it all sound so easy; we’ll have to try some of these next time we garden.
Thanks for sharing!
You’re welcome! I’m so glad you found them helpful. Blessings!
I was reading your article on 10 Seed Starting Garden Hacks and found these hacks to be extremely useful. I know this time of year can be hectic for everyone so these tips are going to come in handy!
Thank you so much! I am so glad you found these tips and tricks helpful. Here’s to a big harvest!!
Awesome podcast! Thanks for posting this kind of podcast, this is really an educational podcast for those who are new in seedling starting. There are so many ways to do this task, as you post on your podcast. I learned so many thing about to start in seedlings.
https://www.yvrhedges.ca/
I used to start seedlings in all kinds of containers when I was a kid (yes, I was one of those weird kids that liked to watch plants grow). One of my favorites were the plastic capsules inside those chocolate Kinder eggs (I grew up overseas on Army bases). One of the worst I ever used was my mom’s Tupperware. She was not happy about that one….
Steven, I love to know that there are others out there that find seed starting as fun as I do! Thanks for sharing your story…and as a mom now, I can imagine yours was not too excited about her disappearing Tupperware. Ha! Blessings to you!
I’m one of those too, but not a kid. I am 73 and still get a tiny thrill seeing the plants pop up in the window sill. I just repotted a couple of cucs into paper cups from a muffin tin.
And that same muffin tin will arrange my spacing for the onion bulbs I plan on setting next week when this cold spell leaves, like next week, 70s highs and 50s are the lows.
You are a kid at heart which I think is a good trait! Yay for up-potting cucumbers. Here’s to warmer temps and a bountiful harvest, JayJay!
So, I know this post is kind of old, but I just came across it while browsing through Pinterest. As someone who has just decided to branch out from succulents and try veggies in the spring, I found a lot of these tips super helpful and extremely cost saving! I also use popsicle sticks and after awhile they fall apart, but cutting up an old bowl is genius! Thanks for sharing what you’ve learned!!
Hi Michelle! I SO appreciate your comment. 🙂 You may really like this link to an e-mail series that features all of our gardening articles: https://happihomemade.com/grow-food-gardening-e-series/ And yes, the yogurt container plant markers are so durable and can be used year to year! I wish you the best in your new gardening venture. Here’s to a bountiful harvest!
Great and very helpful post! All these seed starting strategies will be of a great help for my sister, because she’s just began with starting seeds for this season. Thank you for the nice information! Happy gardening!
Thank you for sharing Novella. We are just beginning to start seeds for our 2016 garden too, in fact, I’ve got 3-4 flats to plant today.
Sarah, another frugal seed starting tip is to see if one
of your gardening friends–ie the Gardening Fairey — has different varieties of vegetable seeds to try out. Beats buying a whole packet…
I like that Gayle, you are my garden fairy 🙂 Thanks again for the raspberries and strawberries! You will have to swing by mid-summer for a treat!
I love making pots for my seedlings out of newspaper. I try not to use the colored pieces, just black and white. The newspaper is biodegradable so when you plant your plant in the ground it can be kept in the pot and will disintegrate and won’t hurt the soil.
What a fantastic idea, Brenda!! Goodness, we need to find out more of your frugal tips 😉 Thanks for sharing with us!
Like I said before, I LOVE this post! Would you mind me linking up to it in my beginners gardening roundup and using one of these pics to do link it to? Of course I will be linking back to your beautiful blog!
Absolutely Brittany, I was hoping you would 😉
These are really great ideas that I have never heard before! Cutting the solo cups in half and tapping for easy transplant later is genius! Thanks for helping me with my first ever veggie garden!!! (Im pretty excited 🙂
That is nice to hear Brittany. I never know if what I am sharing is new or old, I just know it works for me! I am always gathering ideas from all over the place and trying them out for myself. Thanks for stopping by, and good luck on your garden!
Love all these “hacks” – some great ideas there! It is great to have all these ideas in one place!
Fantastic tips! my daughters and I have begun starting our seeds this week- can’t wait to use some of your tips
Awesome! Isn’t gardening the best?! Especially with sweet daughters to help us 🙂
Great list of hacks! I pinned it to my gardening board.
Thanks for linking up with Inspired Bloggers Network’s Spring Fling!
Here’s a garden hack for you, take some med, to large rocks(not too big) and have the kids paint them with nontoxic paint any color then take white paint and paint the names of your vegetables growing in your garden,place the rocks in your garden at the end of each row. Permet markers for your garden.
Love it. Thanks for sharing Angela.
Wow, you have so many great ideas! Thanks again for sharing them with Green Thumb Thursday. I hope to see you again this week!
~Lisa
Thanks for linking up at the Fabulously Frugal link party!These tips are so great. I’ve wasted so much money trying to set up a garden in the past, only to have it fail. Pinning this for later with my fingers crossed for garden success this year.
Love the condiment container idea!!!
I really need to get started on my seeds for my garden!
Thanks for sharing at Talented Tuesday Link Party!
Kristina,
I just started my first ones last weekend. We live in zone 4 so I can’t get too eager! Best of luck with your garden this season. Check back on our blog through the month of March, we will be putting out tons of gardening tips and advice.
I love using Rubbermaid containers to start my seeds! The yogurt container tip is genius. I’m going to try it for sure! Thanks for linking up with us ladies!
~Jen
Fantastic ideas! The baby plants will certainly do well starting out like this! Thanks so much for taking the time to link up with us over at the #HomeMattersParty – we hope to see you again next week!
I love your ideas. I am a keen gardener so these hacks are great for me. Visiting from #homematters
Great tips, Sarah! Thanks for sharing and also for linking up to the Tuesday Garden Party!
I love all of your great tips because I am itching for the weather to warm up so I can get out and into the garden. Thanks for being part of the Talented Tuesday Link-Up!
Thanks Tracee! It is cold here too, but we know in a few short months we will be out there in the sunshine waiting for our seeds to sprout! Take care!
Love the tips! I feel encouraged to tackle starting my own seeds this year!
Best of luck! It can be a bit intimidating, can’t it? My best advice is to “bottom water”. That means put them in a tray that you can put water in and let them “drink” at their leisure. Then lightly mist them from the top once per day. Those buggers can dry out quickly, and that is how you lose the plants. Bottom watering solves that.
I do this also – water from the bottom – keep a visible amount of water at all times. It promotes deep root growth. I do buy the smaller peat pots – and use a growth soil, but then when I transfer I do use the solo cups – but never thought to cut and tape the sides – I always fight to safely get the plants out, or cut after the fact. Guess either way works, but I am handling the plant way too much when I cut after.
It sounds like you need to be writing these seeds hacks!! 🙂 It is always fun to hear from accomplished gardeners. Blessings to you this gardening season.